Showing posts with label sewing. Show all posts

Monday, 19 December 2016

And that's a wrap...Signing off for Christmas and saying Goodbye!

Hello my loves...My last blog post for 2016 and I can't believe I've actually written 9 of these since September. It may not be a lot in the world of blogging but It's great for me as I had never blogged before.

The run up for assignment deadline day has been crazy and so stressful. I've learnt so much about myself during this process-I'm such a flipping worrier and could do with an extra large bottle of chill pills but with all the worrying aside, I did make it to deadline day :-)

I really don't know what I was thinking when I decided to design a shirt dress that could also be worn as a coat too..I mean It can't be that hard to make? Gosh I was so wrong but despite it's huge challenges..I did it...I MADE IT!
construction fashion designer student development
Nearly finished!!!!
 In fact, whilst I'm sat here writing this I've just realised a couple of things I have forgotten to do like-Overlock the inside sleeve seams (on shit!) and blind stitch the seam that I had accidentally pulled open on my small collar. Hmmm What can I do about it now but I know my tutors will be reading this so *WINK-WINK KISS KISS*

As always I like to fill up my post with lots of visuals along with a brief explanation.Here goes.....

fashion garment construction designer illustration student dudley parent blog
Large outer collar in pink Chenille
Very hard fabric to sew!
fashion garment construction designer illustration student dudley parent blog
Darts in bust line. Originally
had shoulder darts but removed
them as the bust darts looked
nicer
fashion garment construction designer illustration student dudley parent blog
Plackets added as grow on
in pink Chenille


Although I've found these last couple of months extremely hard..I'm super proud of myself for actually getting this far as I really was ready to quit (as I've mentioned before) but seeing my garment go from first design concept to an actual wearable garment, that I have made,  has just made me hungry for more GRRRRR and even more determination to carry on a gain my degree! Especially as I've also found my illustration 'style' and my confidence in drawing has really improved.


fashion garment construction designer illustration student dudley parent blog
3 portfolios of design development
ready to hand in, along with
fabric and print samples
fashion garment construction designer illustration student dudley parent blog
Final fashion boards with flat, technical
drawings and fabric samples.
fashion garment construction designer illustration student dudley parent blog
My final illustration of AM 2 PM
collection-Can't believe I drew these!!


Last week we said Goodbye to our fashion tutor-Kerry. She is going to be missed so much. Kerry is such a wonderful person and has really help build my confidence and find my illustration style as well as teaching me construction too and thats only a fraction of what she has taught me..She literally walks, talks, eats and sleeps fashion and when I grow up, I want to be her. I'm 33 and far from growing up yet but having had the pleasure of knowing her for only a short time even though it feels like a lifetime, She has ignited a fire in my belly to make it in the industry. Thank you Kerry <3

fashion garment construction designer illustration student dudley parent blog
L-R Debbie, David, Kerry and Me! HND 1 gang

Pretty sure most of you know my other passion is photography and I have my Facebook page. This weeks self portrait is here and Its one it took a couple of  months ago, I just hadn't found the right words to use alongside it. Well my loves...Cheers and have a wonderful Christmas. I'm signing off for 2016 but I'll be back in 2017 with more fashion studying shenanigans. Abi xxxx

Cheers Everybody and Merry Christmas


Monday, 5 December 2016

Calico heaven or maybe....Hell!!!!

Calico, Smhalico...If I have to see another piece of that muslin cloth I'm going throw a fit but I'm super excited to show you my final toile piece. There is a few images in this blog tonight so keep scrolling and i'll talk you through it :-)

garment making construction fashion blog blogging fashion student mom parent
Lay plan to begin

bust dart fashion garment construction student making parent
Reverse of bust dart
darts fashion student parent college design designer couture muslin calico
Inserting bust darts

I started out with my lay plan to see the most effective way to get the most out of my fabric and measure how much fabric to buy for my final piece. Some pattern pieces needed to be cut on the fold and some pieces like the fronts, I only needed one of each. It worked out that I needed roughly 3mtrs of fabric just for one dress!! WOAHHH!! Once I had cut all my pieces, I started with the two front pieces and putting in the bust darts.


Right sides together for french seam part 1

Finished french seam
Wrong sides together for FS part 2

Kerry had asked me if I had thought about how I'm going to finish off my seams and well, I looked at her rather blank. It's taken me all my effort to think about what I want for lunch so seams were the last thing on my mind lol. She suggested that I could try sampling a french seam as I gave a nicer, structured and supportive seam than the over-locker. I'm always game for a challenge so french seams it is!! It might not be 100% clear from my photos but the first part of the french seam is sewing the right (correct) sides together allowing a 0.5mm seam allowance, then part 2 is folding the two pieces of fabric back on themselves so you get the wrong sides together and sewing them together allowing a 0.75mm seam allowance. Them you fold back to bring the right sides together and TAA-DAAAHHHH, That's your french seam.

Starting to see my design

Too much excess on the shoulder
Flip the lapels back

After sewing my fronts to the back piece together, I popped it on the stand to see initially what it looked like. I was a little concerned as it didn't have an open chest front like in my design. I soon realised that I had added extra to my pattern to flip back the lapels. Phew....I nearly cut them off to expose the chest. I also found that I had too much excess on the shoulder so needed to snip off about 2cm of excess. How nice do those darts look? So proud of myself..


First, large collar

Second, smaller collar eased in
Garment design in the middle

Fast-forward about 45mins and I had constructed my two collars..CHECK OUT THOSE POINTS!! and eased them into the neck seam, which was no easy task but I did it. Having a quick look at again my garment design, I can really see it coming to life. It's so exciting and I'm really, really enjoying this part of the degree.

  
First sleeve in!!  
 
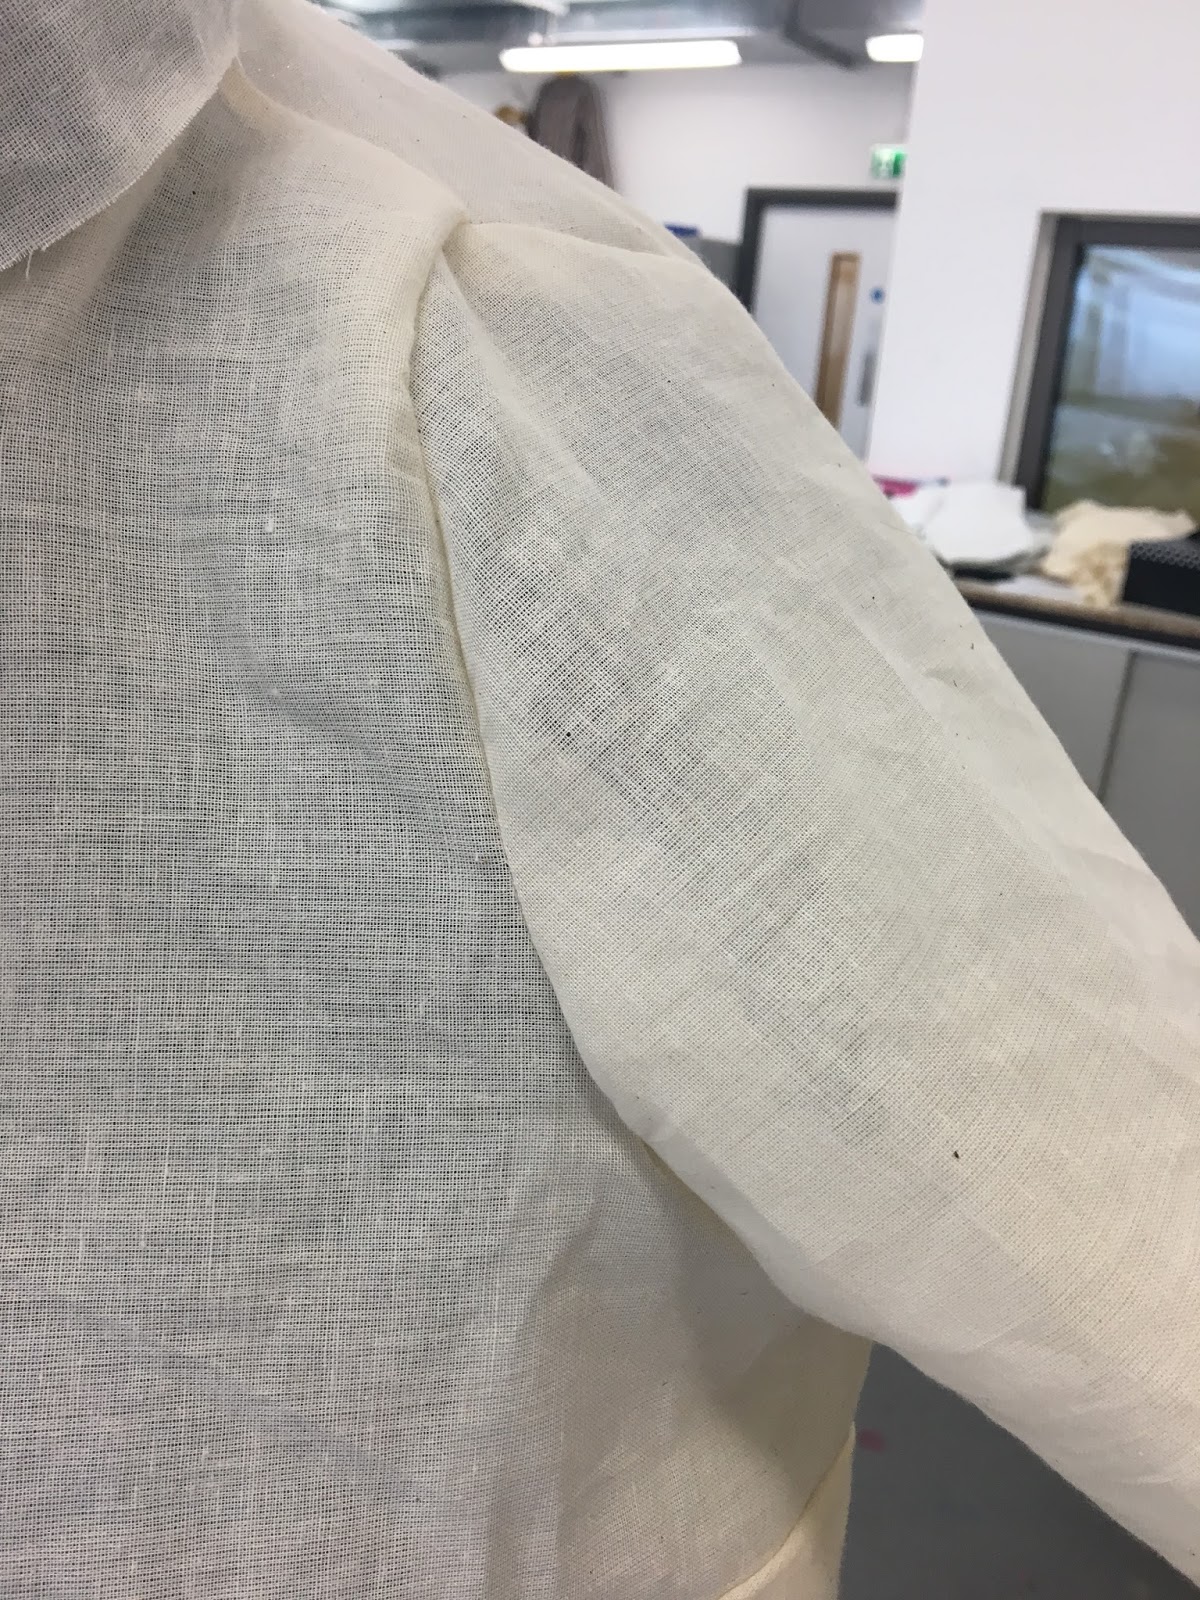
Only a couple of tucks...Impressed


This next and last step to my toile was adding in the sleeves and I was nervous, I'll admit. I'd never put in a sleeve until now and I was a shaking mess!! I tacked it in place, matching up the centre seams and took off for the sewing machine. Let out a deep breath and got stuck in. I was absolutely thrilled with my effort as I had only 2 tucks and it fit fantastically. Go me!! 


In other news. Last week, Igersbirmingham launched their first ever exhibition and I was thrilled to have been chosen as a featured photographer. If you fancy a giggle then check out my Facebook live video here and if you enjoy taking a photo or two and would lime to make some new photo buddies then check out the new website here

As always, Thank you for reading, looking and listening. I really do appreciate all your support. Abi xx